Installing and Configuring Internet Information Services (IIS) for Windows 7
This section will walk you through the installation and configuration of IIS for Windows 7.
Installation of IIS for other operating systems may vary and you will need to consult the Windows documentation accordingly.
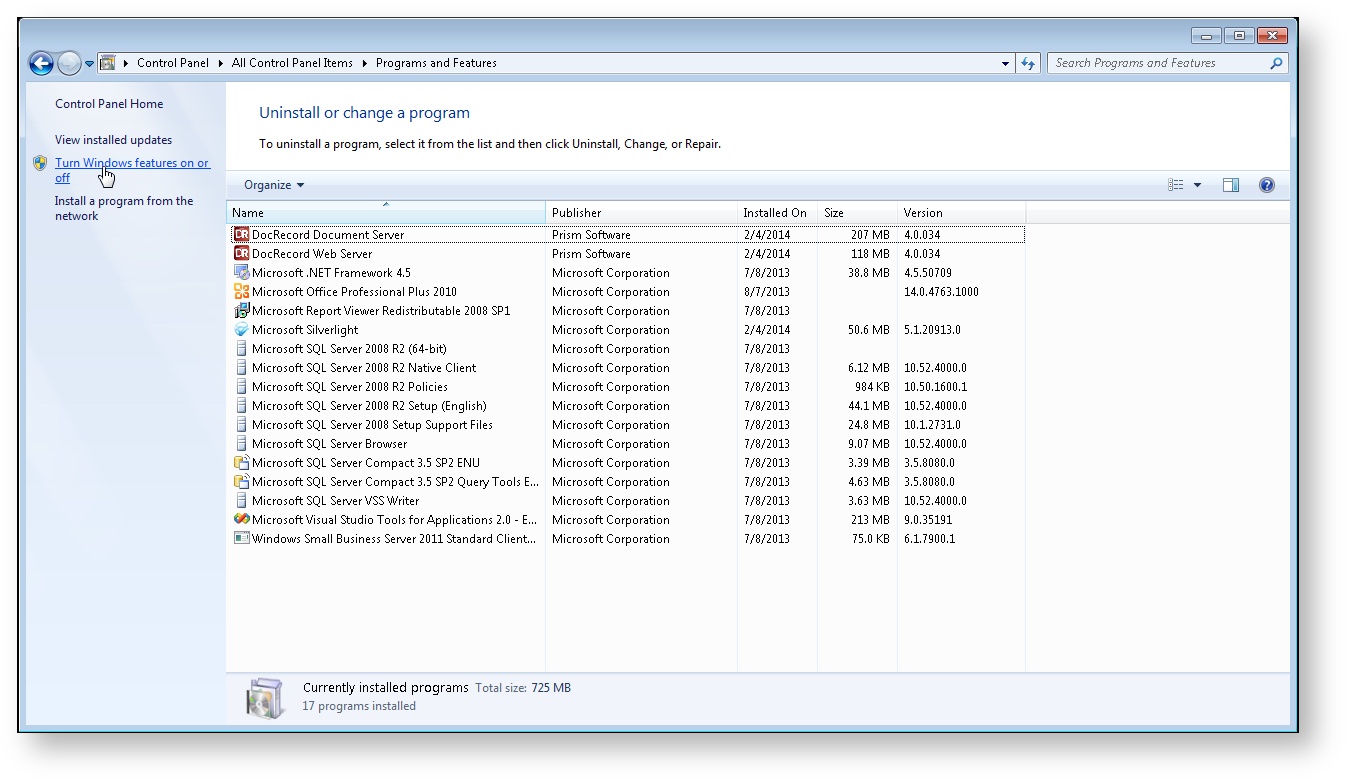
Open the Programs and Features window by going to Start > Control Panel > Programs and Features
You may need to change the Control Panel view from Category to Small or Large Icons
On the navigation bar on the left side of the Programs and Features window, select Turn Windows features on or off.
In the Windows Features screen, select Internet Information Services.
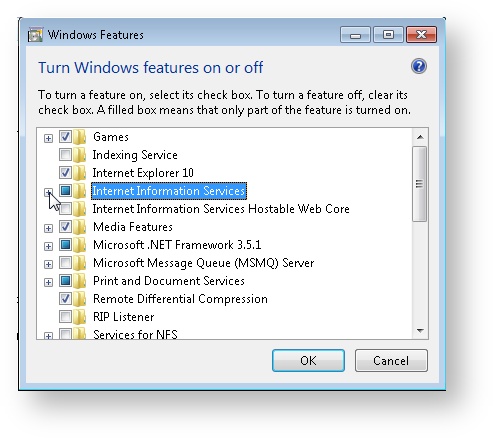
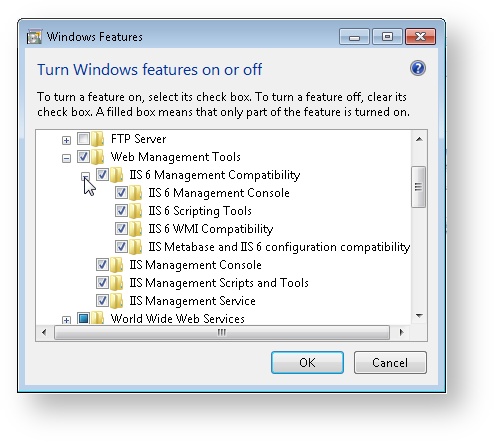
Expand the Internet Information Services feature. Under Web Management Tools, make sure that there is a check mark next to IIS 6 Management Compatibility and all 4 of its sub-features.
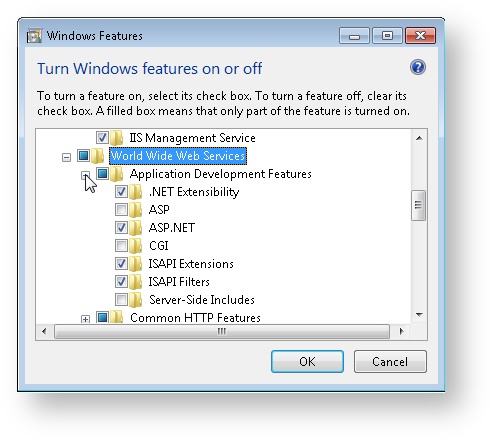
Under World Wide Web Services > Application Development Features, make sure that there is a check mark next to: .NET Extensibility, ASP.NET, ISAPI Extensions, ISAPI Filters.
Also, under World Wide Web Services > Security, make sure that there is a check mark next to Basic Authentication, Digest Authentication, and Windows Authentication.

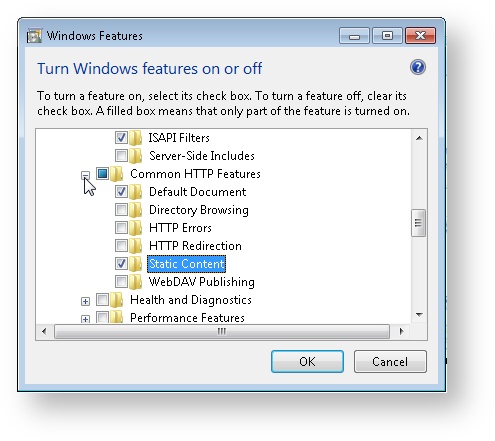
Lastly, make sure that Static Content is enabled. Go to World Wide Web Services > Common HTTP Features and check the check box labeled Static Content.
Click OK and wait for IIS to be installed.