Creating a Custom Panel Capture (Workflow to Capture Server to DocRecord)
Workflow is NOT available in the Express edition.
Accessing the ScanPath Workflow Designer
Use the below instructions to access the ScanPath Workflow Editor.
- Launch your ScanPath Configuration Tool on the ScanPath server.
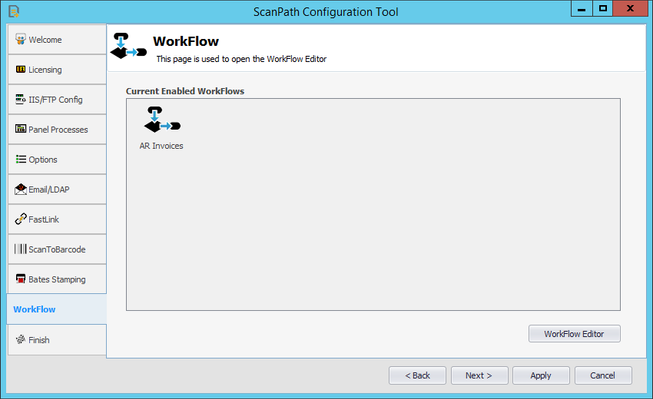
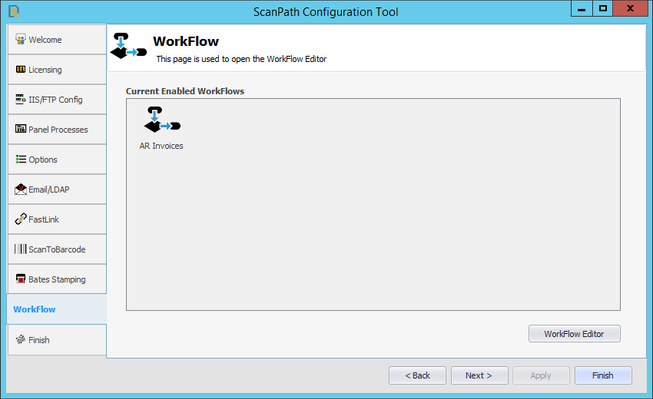
- Select the WorkFlow tab, then click the Workflow Editor button.
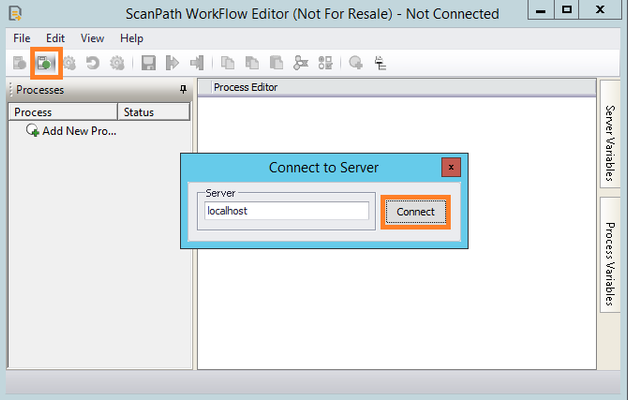
Click the Connect (Connect to Server) button in the ScanPath Workflow Editor, then Connect to your server.
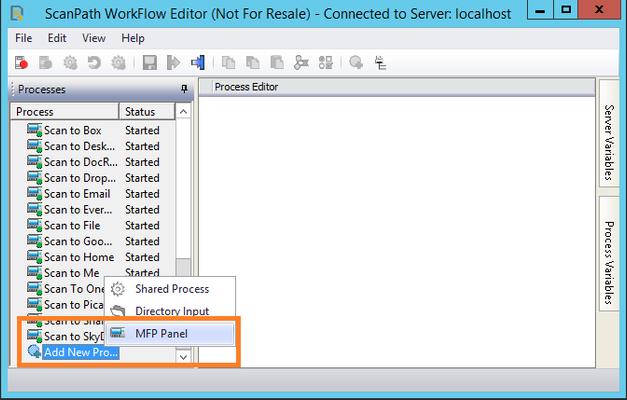
- Scroll to the bottom of the process list, double-click Add New Process, and choose MFP Panel.
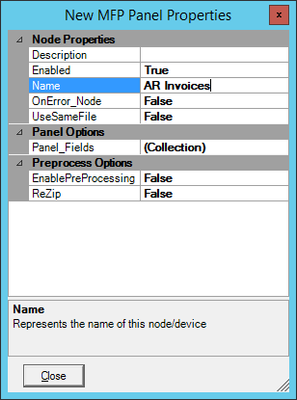
- Enter the NAME of this new process (such as AR Invoices). This will be the name that appears for the process in the ScanPath application at the device.
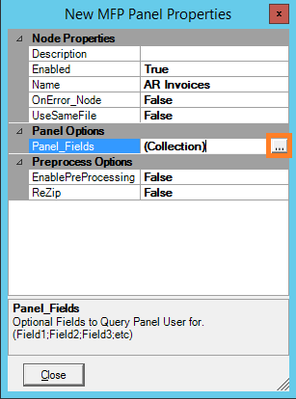
- Click on the (...) icon to access (Collection) configuration for your Panel_Fields. This is where you will configure what data is captured at the panel.
- Click the Add button to add your custom panel interface items.

- These fields will be available throughout your workflow as JOB. variables.
- JOB.[Invoice Number]
- JOB.[Invoice Date]
- JOB.[Customer Name]
- Click OK to apply your custom fields, then Close the MFP Panel Properties.
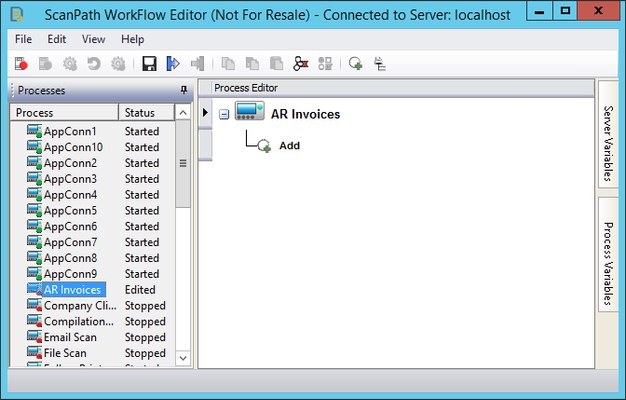
- Your new workflow will be available to modify in the Process list
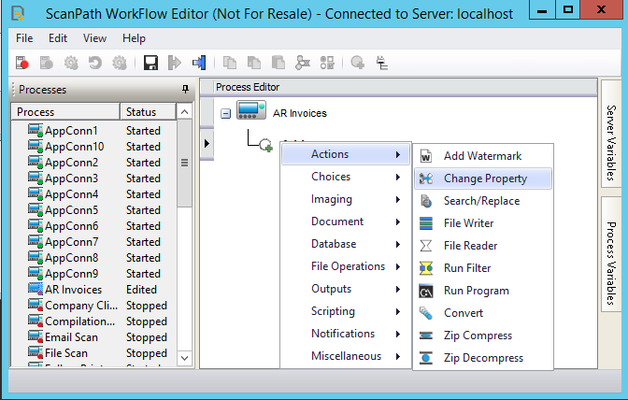
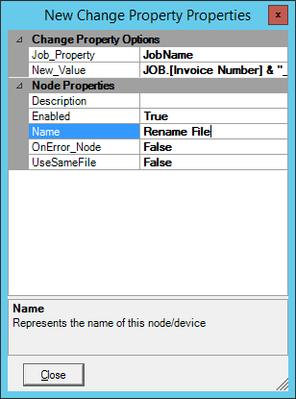
- To rename your file using the captured job data, double-click the Add object, then go to Actions > Change Property.
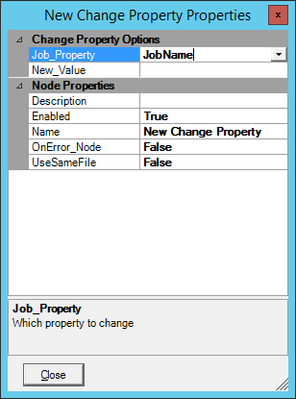
- Set the Job_Property to JobName. (This will be the filename of your outputted file.)
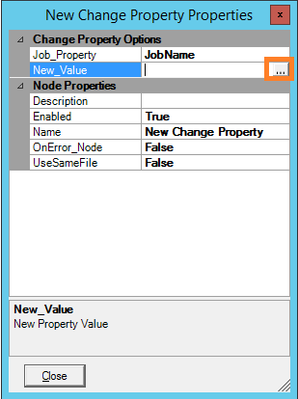
- Click on the (...) icon under New_Value to open the Expression Editor to customize your new filename.
- Enter the expression for your new filename.
- JOB.[Invoice Number] & "_" & FMTDATE(JOB.[Invoice Date], "MM-dd-yyyy") & "_" & JOB.[Customer Name]
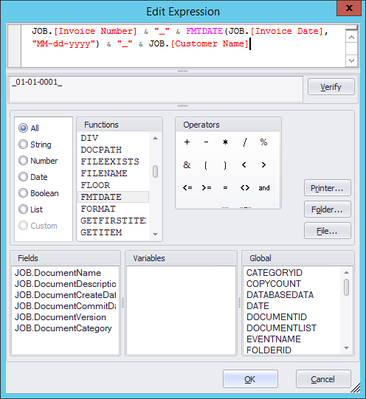
- Click OK to close the Expression Editor.
- Set the Change Property Name to 'Rename File'.
- Click Close to finalize your new object.
- Next, you will need to choose where this file is going to be output to. For sending documents to DocRecord, you will need to create a Capture Server watch folder.
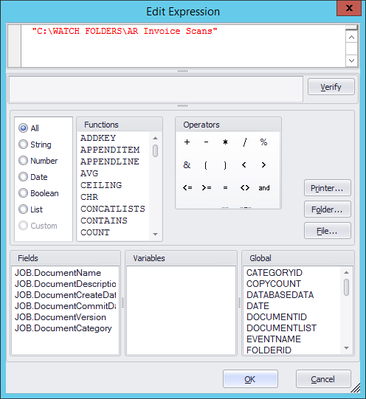
- C:\Watch Folders\AR Invoice Scans\
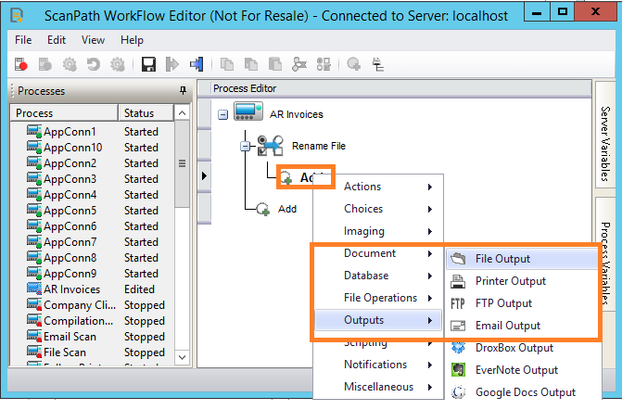
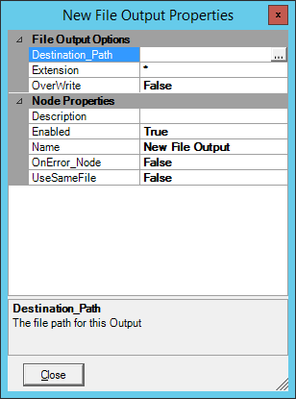
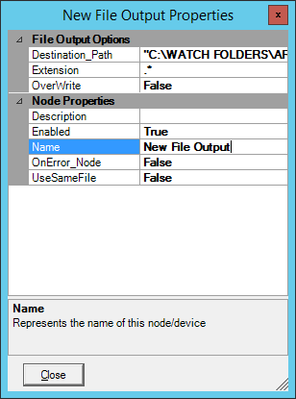
- Add an Outputs > File Output object under the Rename File action.
- Set your Destination_Path by clicking the (...) to open the Expression editor.
- Click the Folder... button to browse to your destination path, then click OK.
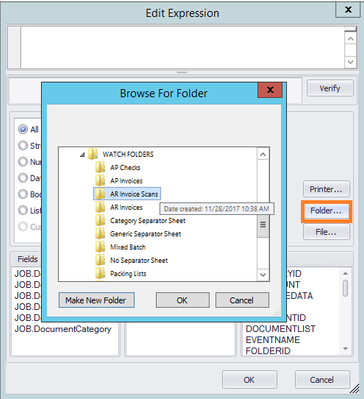
- Verify your path, then click OK to close the Expression Editor.
- Close your New File Output Properties window.
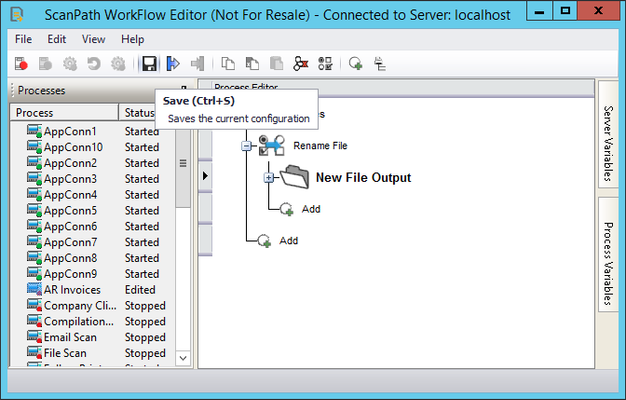
- Click the SAVE button to save your workflow.
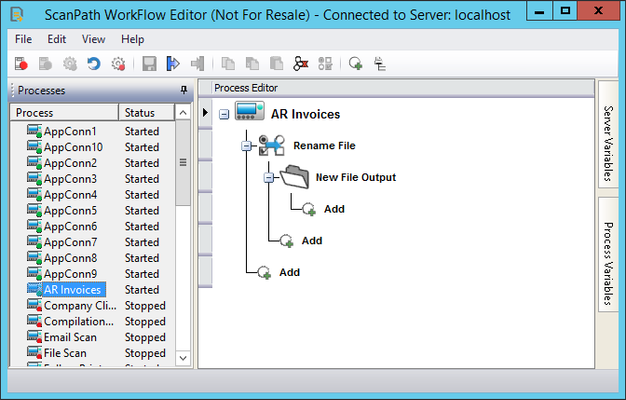
- With the AR Invoices workflow selected, Click the START button to enable your workflow.
- Close the ScanPath Workflow Editor.
- In the ScanPath Configuration Tool, click Apply, then click Finish.
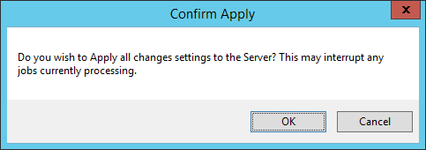
- Click OK to reset the server and apply your changes.
- Click Finish to confirm your new workflow changes.
- Reopen the ScanPath Configuration Tool, select the Panel Process tab, then go to your Workflow tab to enable your new custom workflow
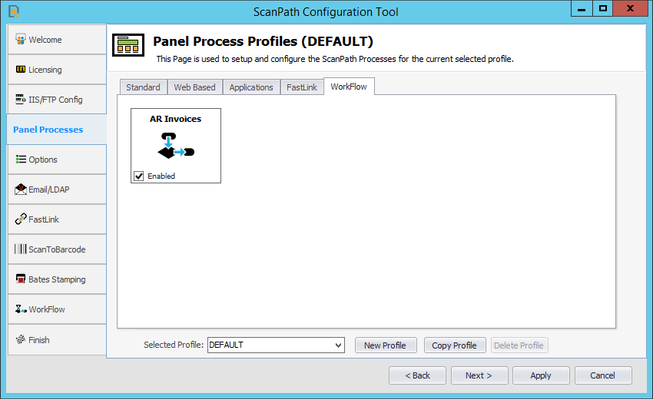
- Click Apply, then Finish, and your new workflow should now be served out to any connected devices.
- Test your custom panel workflow and verify your file is sent to your watch folder with the appropriate filename.
- You can now configure a custom Capture Server process to take this file, read its filename, and parse the Invoice Number, Date, and Customer name from the filename delimited by the static underscores.