For those unfamiliar with the installation procedure for Microsoft SQL Server, below is an example of the steps to follow for installing Microsoft SQL Server 2014. (If you are installing a different version of Microsoft SQL Server, you will need to follow the installation guide included with that version of SQL Server and configure it accordingly.) Please note that this is only meant to be used as a general point of reference, and not a comprehensive guide to installing Microsoft SQL Server.
- Verify that you are logged in as a user with administrative rights, and begin the Microsoft SQL Server setup. The starting window will display; accept the terms and click Next.

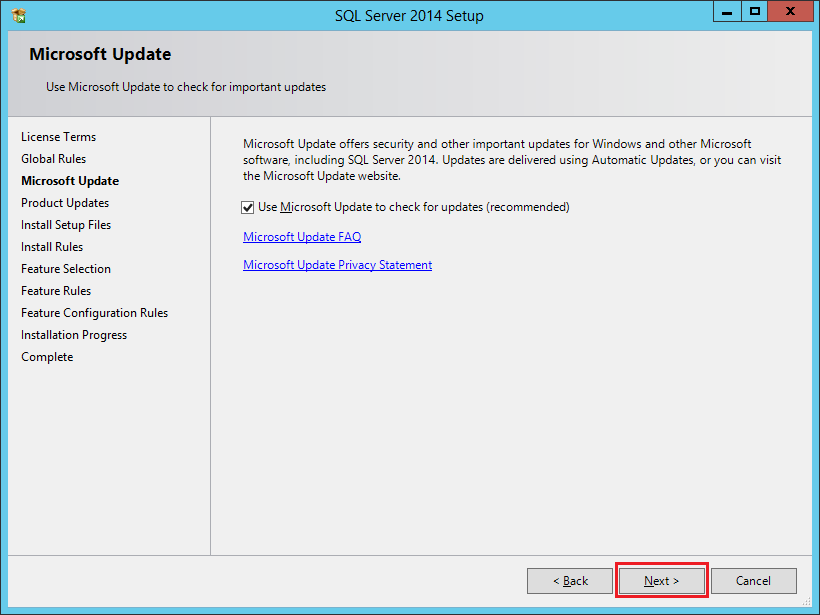
- Enable the option to check for updates and then click Next.
- Wait for the updates and setup files to be downloaded.

- When the Feature Selection screen appears, select the features that you wish to install. At a minimum, please select the options shown below and click Next:

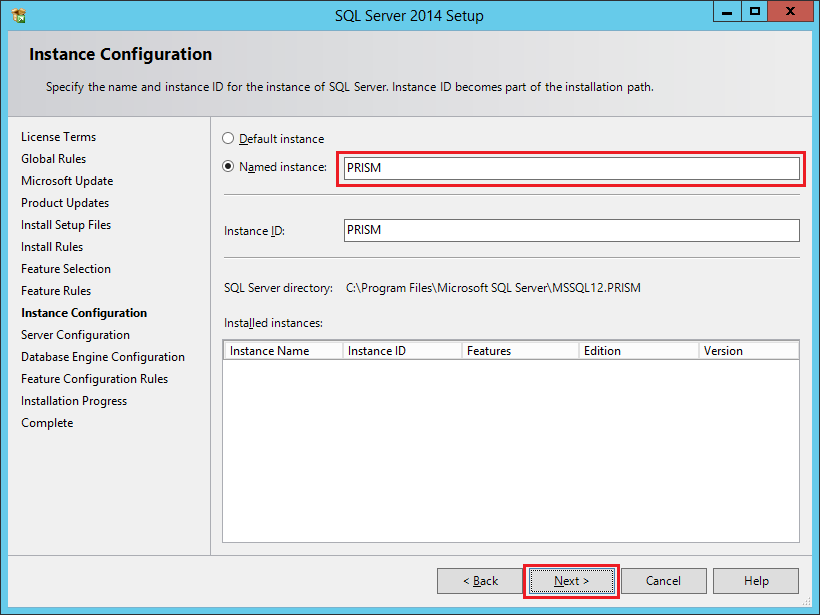
- In the Instance Configuration screen, enter the desired instance name and click Next. Be sure to write down this instance name for future reference. In this example, we will use "PRISM" for the instance name.
- In the Server Configuration screen, click on the Account Name dropdown for "SQL Server Database Engine" and select "<<Browse...>>".

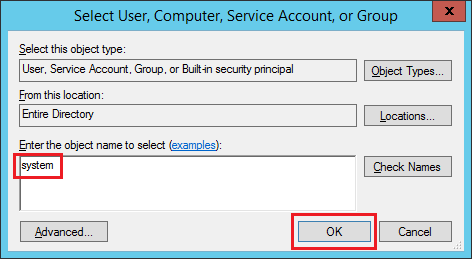
- Enter "system" into the text field, and then click OK.
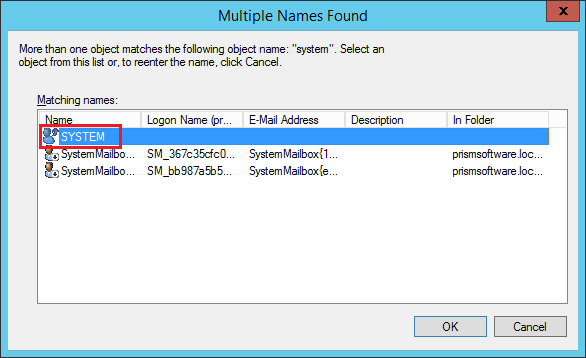
- If the Multiple Names Found screen appears, select the user named "SYSTEM" and click OK, and click OK again.
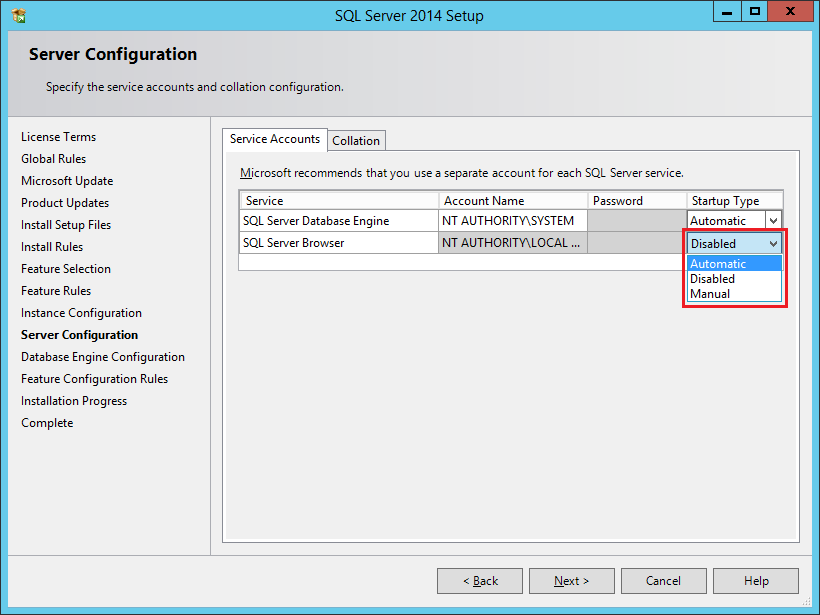
- Click on the Startup Type dropdown for "SQL Server Browser" and select "Automatic".
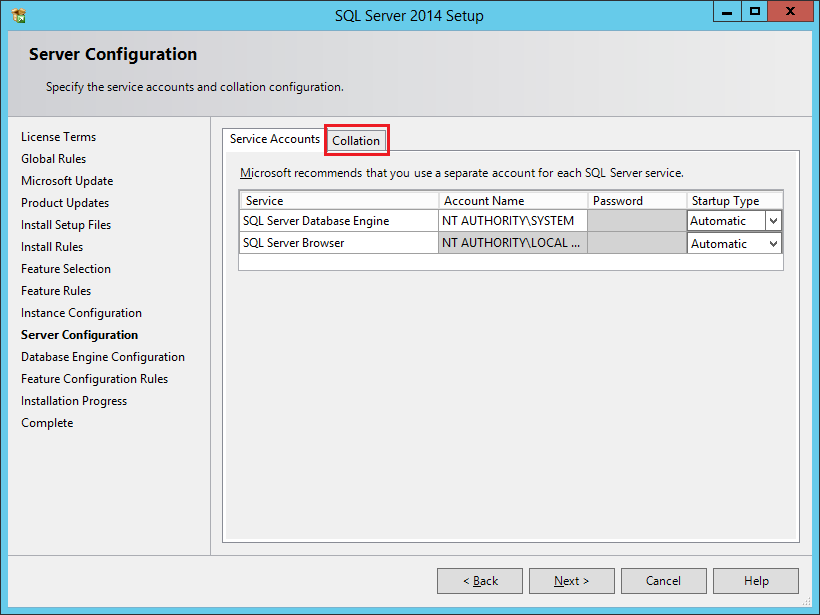
- Verify your screen matches the screenshot below, then click the Collation tab.
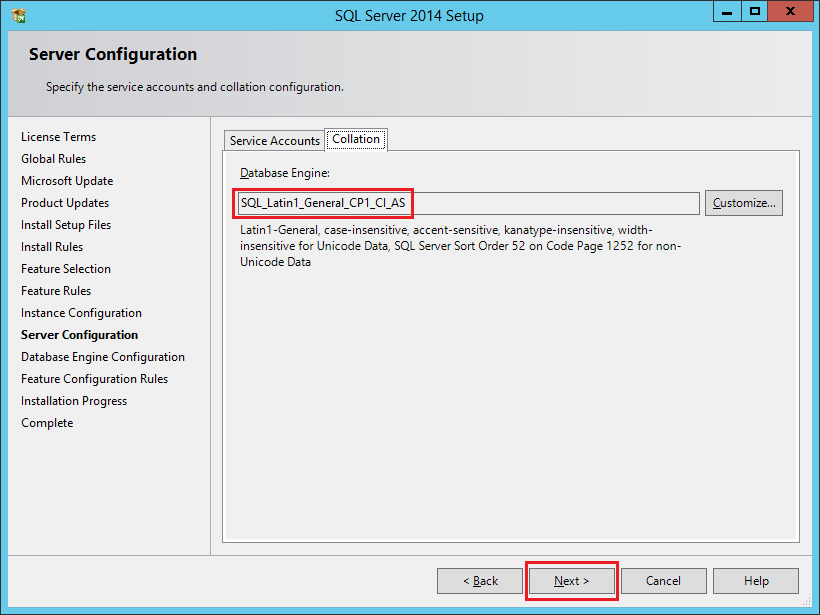
- Verify that the database engine's collation is set to "SQL_Latin1_General_CP1_CI_AS" and click Next.
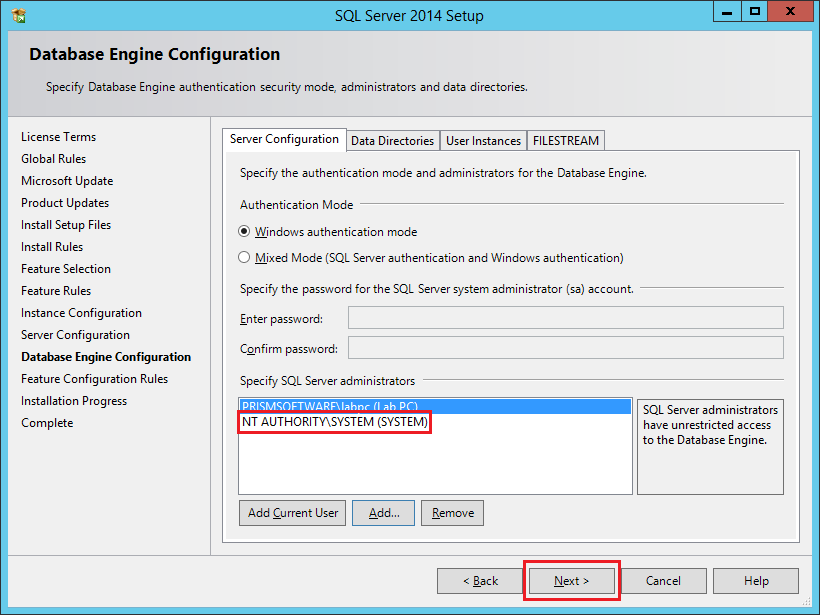
- In the Database Engine Configuration screen, notice that the currently logged-in user account has already been added to the list of SQL Server administrators. Click the Add... button.

- Enter "system" into the text field, and then click OK.
- If the Multiple Names Found screen appears, select the user named "SYSTEM" and click OK.
- Verify that "NT AUTHORITY\SYSTEM (SYSTEM)" is now shown in the list of SQL Server administrators, and click Next.
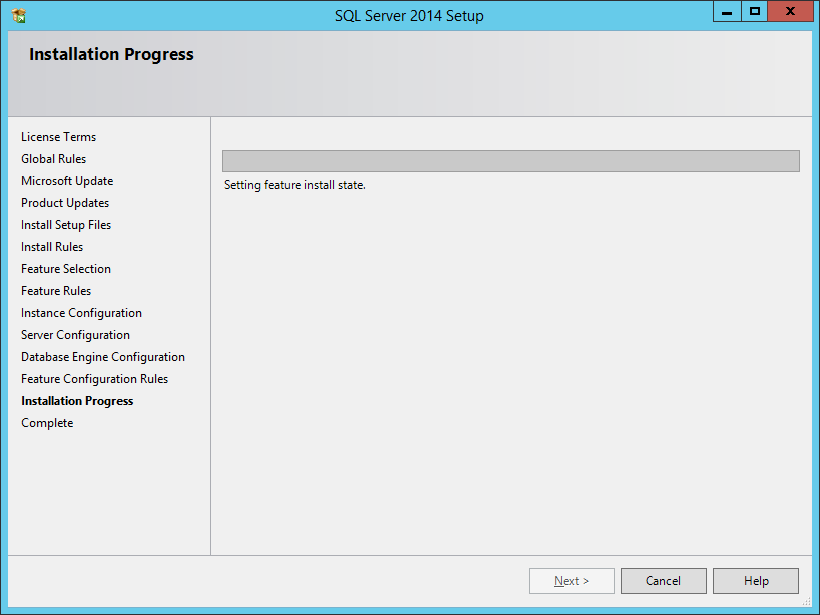
- Wait for the installation process to complete.